
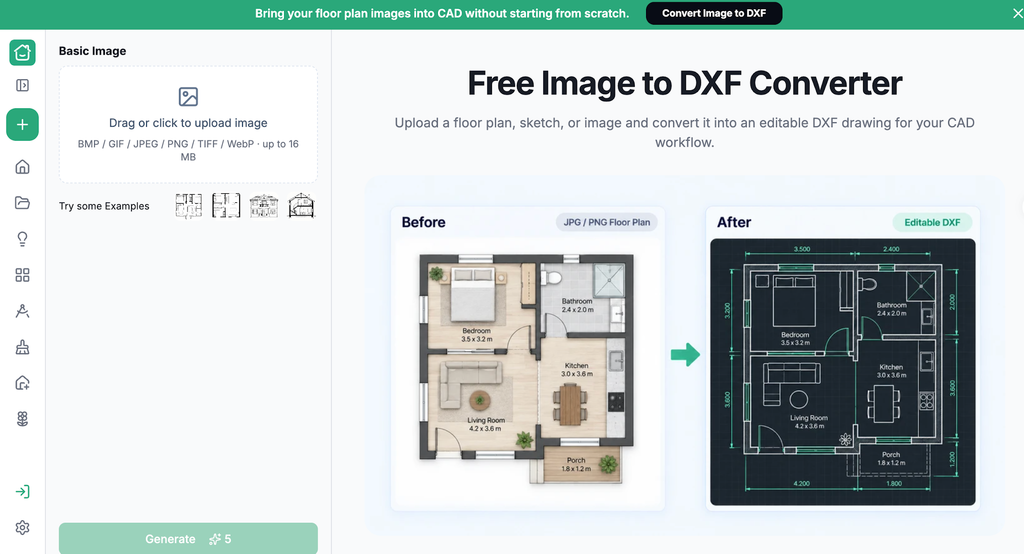
An older house can come with a useful set of paper plans and no editable drawing files. For a renovation designer, that creates a gap between understanding the original layout and developing a new one. Image to DXF Converter can help bridge the format gap. RoomDesign provides online Image to DXF Converter, allowing a JPG or PNG copy of the paper drawing to become a DXF starting point for the renovation workflow.
(Image to DXF Converter interface)
Use the Old Plan to Ask Better Renovation Questions
Paper plans can explain how rooms relate, where earlier openings were drawn, and which parts of the house may have changed. Their immediate value is context. Before converting, compare the drawing with the owner’s description of the property. Ask about additions, enclosed porches, relocated kitchens, and other changes that might not appear on the sheet.
This conversation helps define what the plan will support. A designer exploring room connections needs a different level of certainty from someone preparing construction documents. Treat the paper record as a source for investigation rather than assuming it is a current survey. You can still use it to organize a productive site visit and identify the measurements that matter most.
Give the Paper Record a Working Digital Form
(Before-and-after example displayed in the interface)
Make a clear scan or square photograph of the sheet and save the relevant plan as JPG or PNG. Preserve dimension notes and the drawing date where they remain legible. If the sheet is fragile or oversized, avoid damaging it to obtain a perfect image; work with an appropriate copy or ask someone equipped to digitize it.
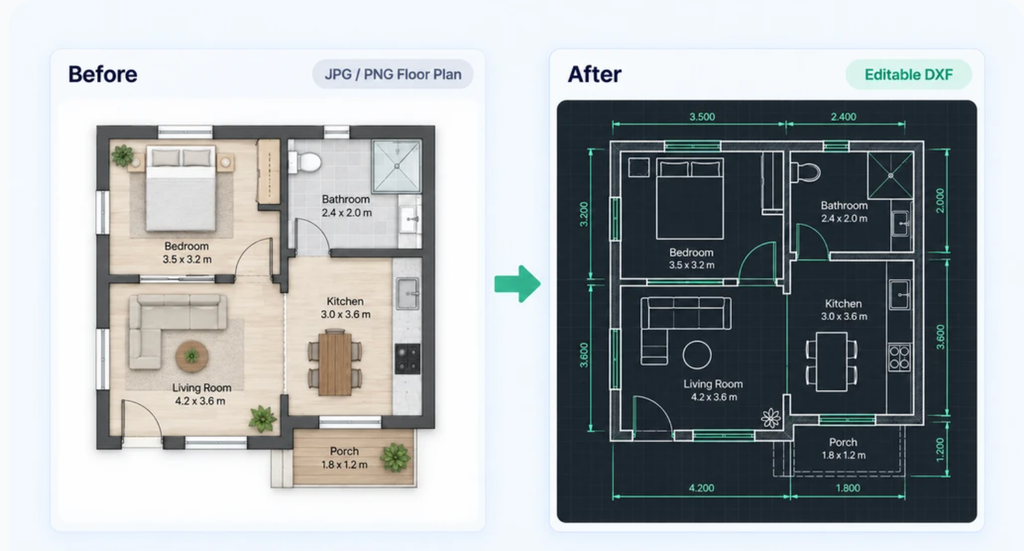
Upload the image and download the DXF, then open it in CAD. Instead of keeping the old plan only as a background picture, you now have geometry to inspect and develop. Check the major outline against the source and establish scale using reliable references. Save the untouched conversion alongside the scan so that later edits do not erase the link to the original record.
Build the Renovation Brief on What Is Known
Create a working plan that distinguishes documented existing features from information confirmed during the visit. Record any differences before introducing proposed changes. This can be as simple as separate layers and clear notes in your CAD application. The distinction helps everyone understand whether a line represents an old drawing, a current measurement, or a design suggestion.
Then address the owner’s actual priorities: a more useful entrance, a separate work area, or a different relationship between kitchen and living space. Develop alternatives around those needs. The conversion is valuable because it gives you starting material for the discussion; it does not determine which walls can move or which proposal is appropriate for the building.
Carry the Useful Base into the Next Stage
After a direction is selected, update the drawing with the measurements and specialist information needed for the next deliverable. A concept plan should not silently become a construction plan merely because it is editable. Make the status and remaining checks visible so the renovation team can continue from the same understanding.
Keep the paper scan, converted base, current working drawing, and revision notes together. This makes the old record useful beyond the first meeting. When another question arises later, the team can return to a documented base rather than beginning another search through photographs of the same sheet. The digital file becomes a maintained project resource, not simply another export stored without context.
Conclusion
Choose a clear copy of the paper plan, identify changes made since it was drawn, and connect the converted base to current site information. Those steps make the old record useful for a new renovation.
RoomDesign (https://roomdesign.io/image-to-dxf) offers Image to DXF Converter for moving a scanned plan into CAD. Try the clearest sheet from the project and use the output to begin a focused discussion about the spaces the owner wants to change.